Wednesday, April 20, 2011

{ fabric rosette }

Mother's Day is coming!!! I love Mother's Day because it is a little reminder that us moms work hard and sacrifice so much for our kids (and husbands)! I've been putting some gifts together for my wonderful mother, mother-in-law, and for a few other moms that really deserve it!

These flowers are really simple and really cute! They can be used for almost everything! You can attach it to a hair clip, broach pin, scrapbook or even put it on top of a gift or gift bag! They're even cute put in a cluster and attached to a chain to make a bib necklace!

What you'll need:
    1. 2-3 inch wide strip of fabric, about 32 inches long.
    2. 3 inch square of felt.
    3. Aleene's Fast Grab Tacky Glue ( or any kind of really sticky glue)
    4. scissors
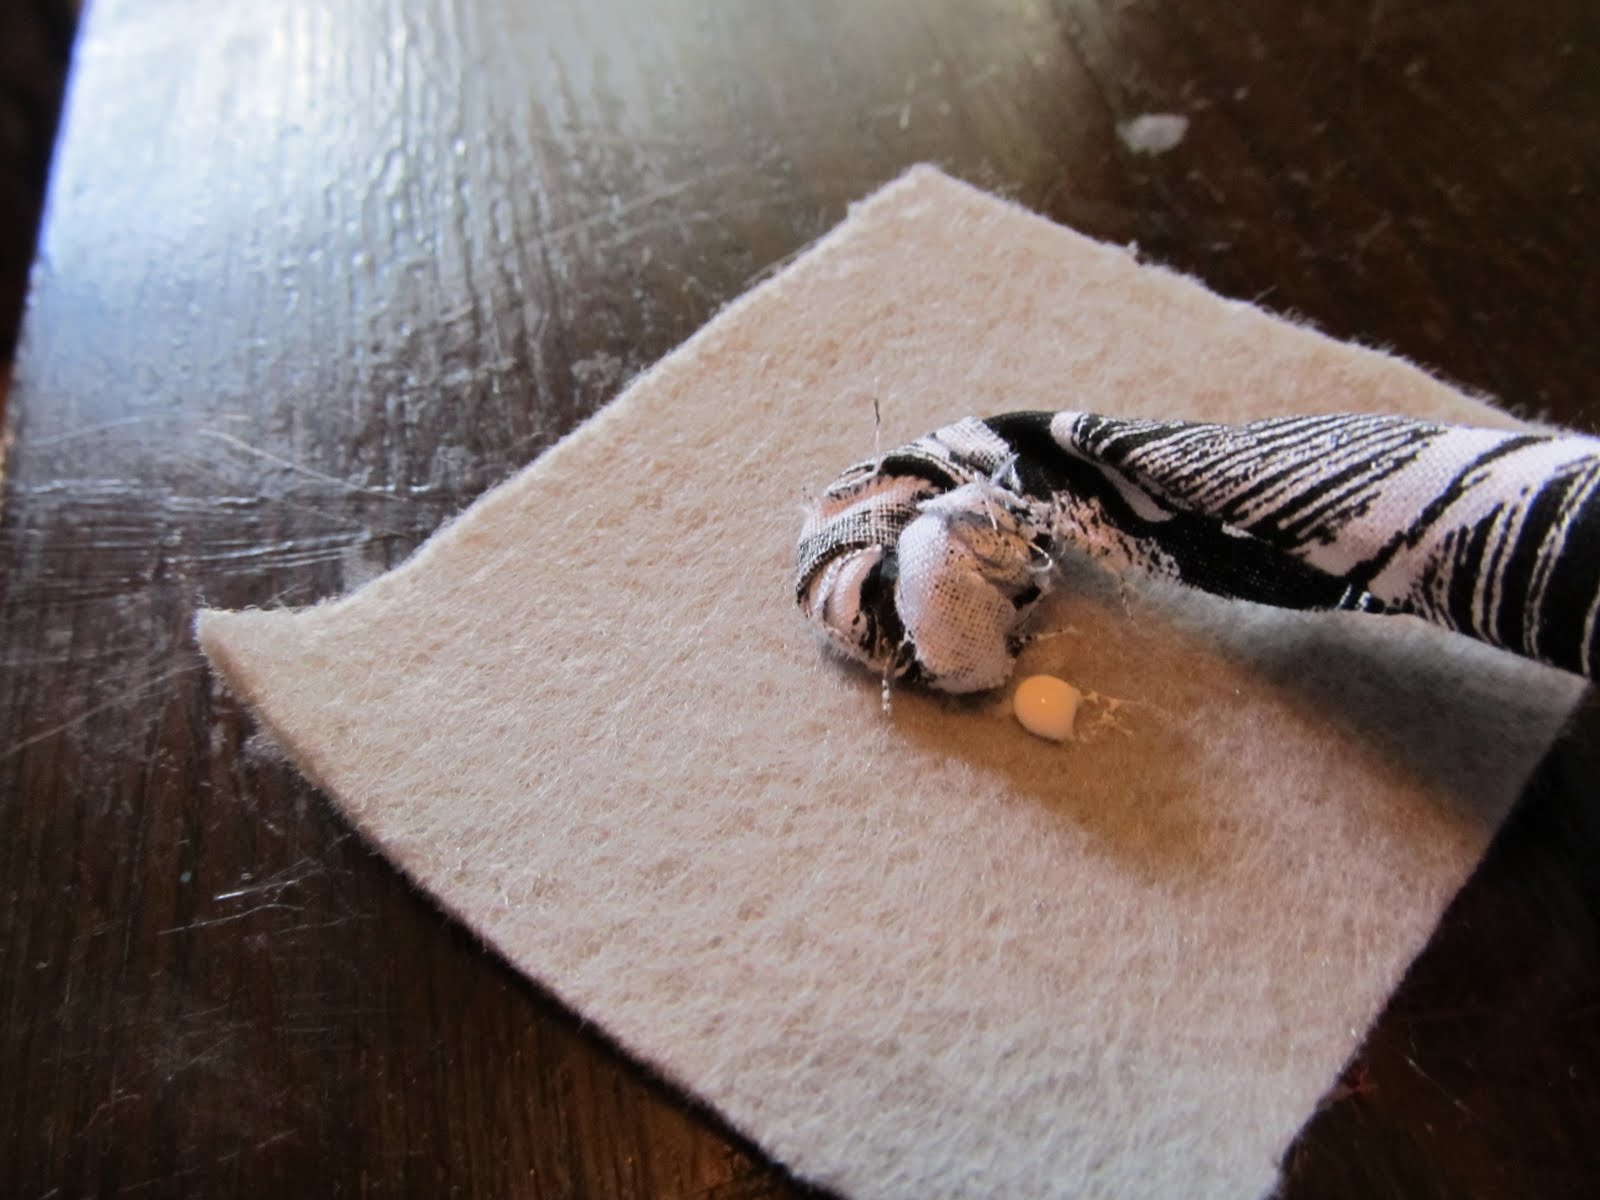
Start with your strip of fabric.

First tie a knot in one end of it.

Now put a dab of glue on the center of your felt square and put the knot on it.


Now hopefully I can explain this part well enough! Start wrapping fabric around the knot making a spiral. As you do it you will be twisting the fabric (like you would twist a wet rag or tootsie roll :) toward the center knot. Put a dab of glue down every few twists (about every half inch) to keep it secure. Stop when you have about an inch left of fabric.


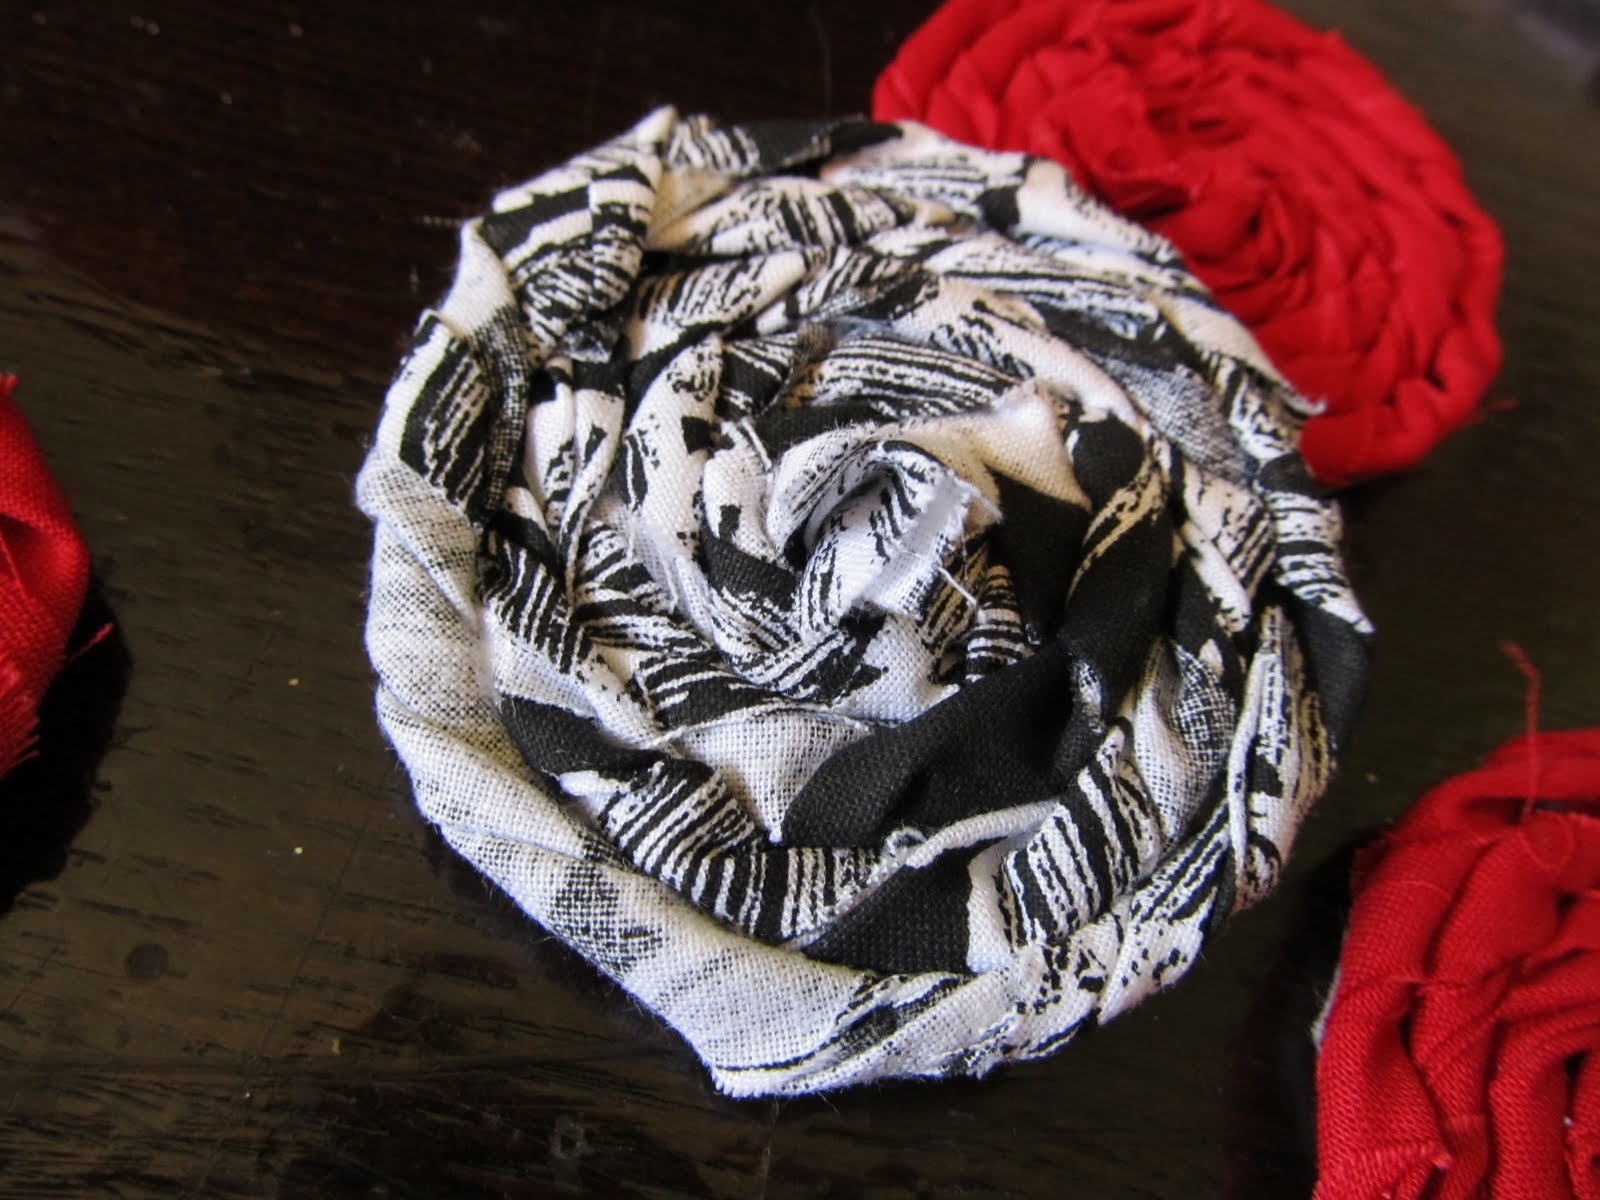
Keep the spirals real close so you can't see the felt underneath.
When you get to the end, put a good amount of glue under the nearest lap of fabric.

And tuck the very end under there. Now hold it for a sec to make sure it's secure.

Trim the felt back after you've given it a chance to dry; about 5 min.

Now you can attach this to anything you like! I'll be putting mine on these cute aprons I made yesterday!


Sunday, April 17, 2011

{ heart card }

I needed to get invitations together for my sister's bridal shower and I decided to make these little cuties! I made 36 of them in just over an hour ( only about 2 min per card)!  They are soooo simple! They would be perfect for so many occasions; birthdays, mothers day, showers, and thank you cards!


What you'll need to make 1 card:
  1. 4 inch x 8 inch piece of card stock ( this is the card)
  2. 5 hearts in whatever colors or patterns you like
  3. 1/2 inch x 4 inch strip of coordinating paper
  4. sewing machine and thread
  5. scissors

So you just start by folding your 4x8 card stock in half so you have a 4x4 card. Then unfold  it again!

Take your hearts and stack them in any order you like! Now slide your unfolded card under your pressure foot on the sewing machine. Make sure you change your settings to the longest stitch length!You will want to sew your hearts down on the bottom half of the card; this will become the front.

I started about 1/2 an inch above the center of the heart. Make sure to back stitch! Hold your stack of hearts real tight and  still. Sew down about 1/2 inch past and back stitch again.

At this point I added the strip of paper on the opposite side and end of the paper; this is the inside of the card. I simply sewed from one end to the other! Now clip all of your threads.
Now just fold your heart a little to make them ruffle up a bit! You should be able to see all of your colors now. You're done! Easy huh! :)


Friday, April 8, 2011

{ wooden keys }

I want to make a hanging picture collage but wanted to add some other stuff to it! I decided it would be so cute to make some wooden keys to hang along side the pictures! So here  they are!

What you'll need:
  • paper, pencil, scissors
  • wood- I used 1/2 inch thick
  • scroll saw
  • dremel sanding tool
  • paint- I used burnt umber and gold
  • paint brush
I started by drawing 7 keys on paper; some big, some small. I then cut them out to use as a pattern on the wood.

Once you've cut the patterns out, you simply trace them onto your piece of wood.

Then, you cut them out with a scroll saw ( for bigger scale keys, a skill saw would work best). I bought a brand new scroll saw off craigslist for $75! It works so well for detailed projects like this!

Now you'll want to sand down the edges with your dremel so they are rounded and smooth. I also used my dremel to create depth in the key. It made them look more real!

Next comes the paint! I put a coat of burnt umber on first. Then I sprayed some gold paint around areas like the crevices and on some edges. This doesn't have to be perfect! If you keep it a little bit uneven it will give the illusion of an old or antique key.
Now I took a sponge brush and applied a little more brown paint. Just make sure you don't let the brown seep into the crevices.  

That's it! You can apply a spray on acrylic coat if you 'll be using them outside!
This project can be done at any scale if you have the tools!


If you're interested in purchasing these keys, click here! Or visit my
Etsy shop by clicking here! I'm happy to make keys to order!